The RetroChallenge may have finished, but I have a few more things to add.
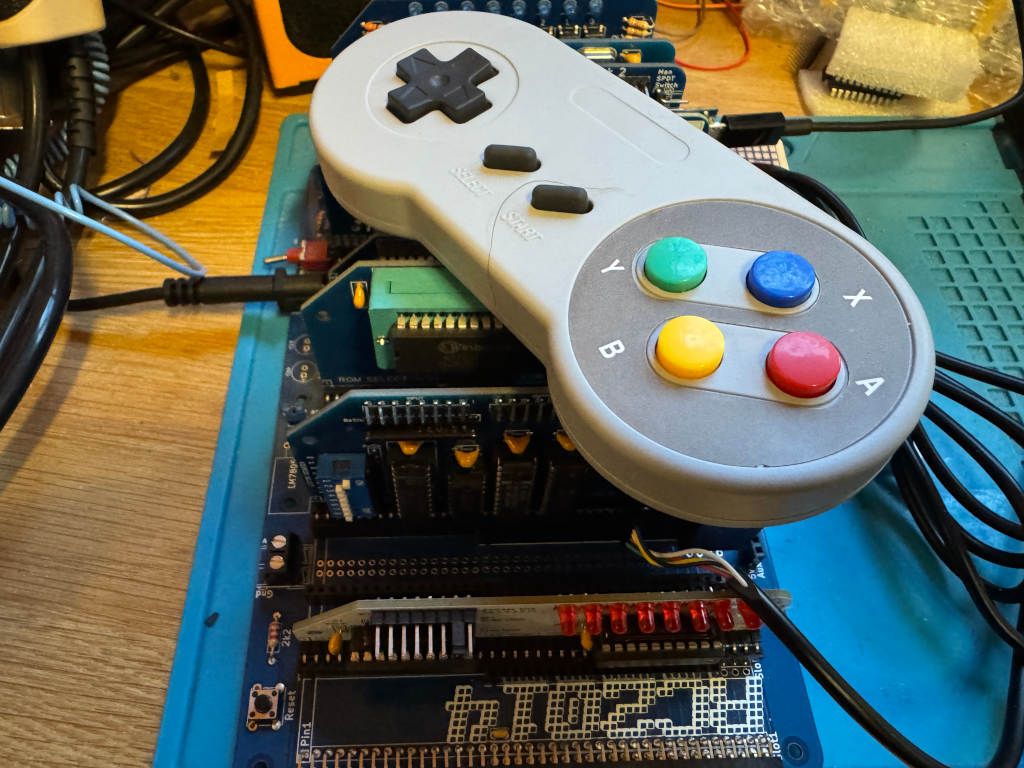
Chartreuse on Mastodon pointed out that the SNES controller is quite like the NES controller. Instead of returning a single byte, it returns two bytes. The first byte is the same as the NES controller; the second contains extra buttons.
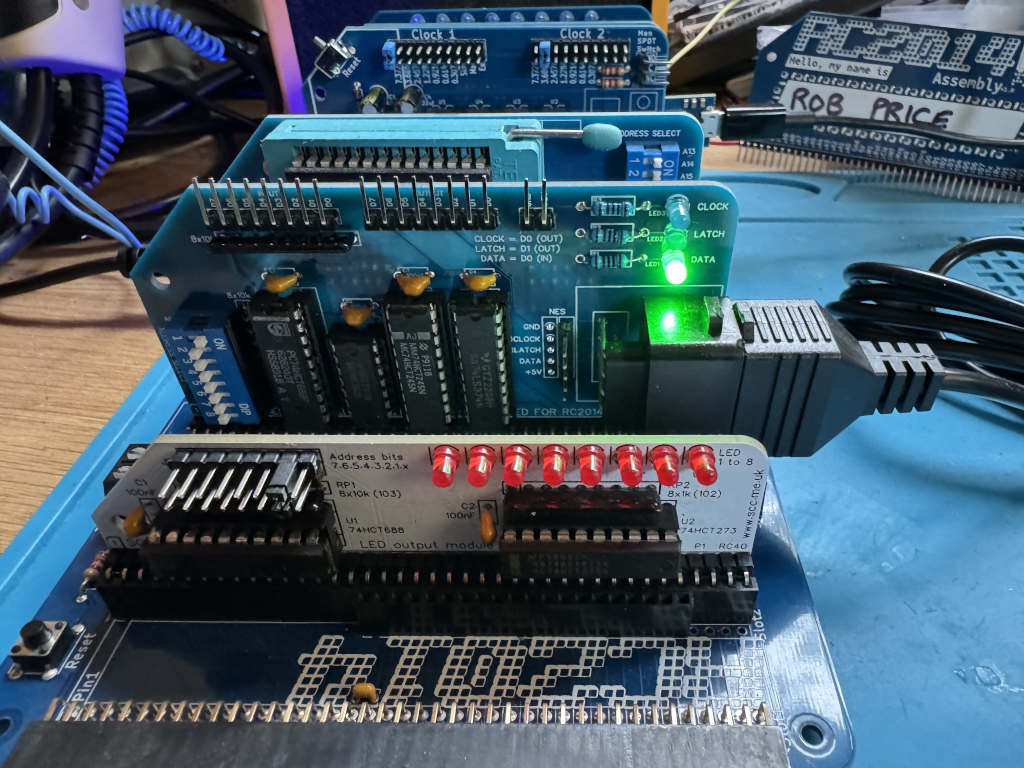
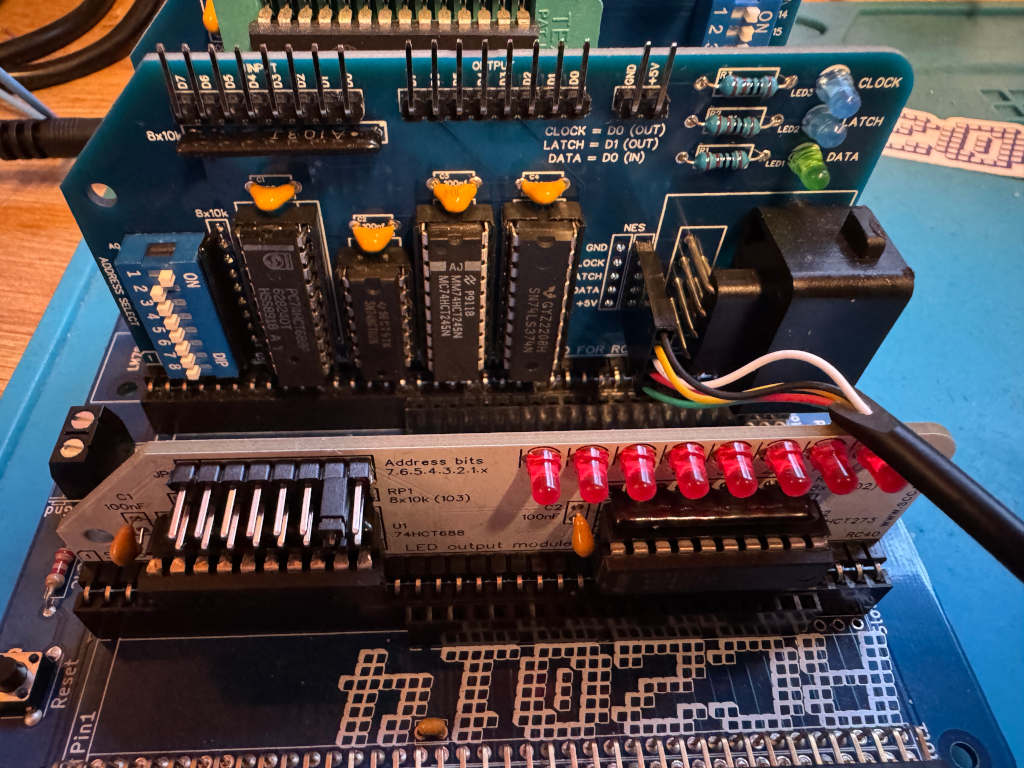
I wanted to see if my existing work could be easily extended to use a SNES controller, so I bought one on AliExpress. I also bought a SNES extension lead so I could cut it in half and add Dupont sockets to the wires. This means I could wire it directly to the RC2014 module I designed for the NES controller using one of the debug connectors I added to the PCB.
The SNES controller uses a different connector, but the pins work in the same way. This diagram shows the 5 pins we are interested in, and how we need to wire them up to the RC2014 NES controller module.

Writing a reusable Z80 routine
As there are two bytes being returned, I can’t just call my get_buttons routine. This will toggle the Latch twice, so I will never get the extra buttons.
Instead, I have to toggle Latch one at the start of the routine, and call a cut down version of the original get_buttons routine that reads the 8 bits twice. The first byte returned will be the original NES buttons. The second byte will be the extra buttons on the SNES controller. Instead of returning a single byte in register a, I will instead use register pair de. Register d will hold the NES button data, and register e will hold the SNES button data.
; SNESController.inc
; Definitions and subroutine to read SNES controller button states
; Robert Price - 1st November 2025


; The Z80 port address to use for the controller interface.
NES_PORT    EQU $01

; The bit masks for the controller interface lines.
CLOCK   EQU $01
LATCH   EQU $02
DATA    EQU $01


; subroutine to read the NES controller button states.
; returns the button states in DE registers.
; register D contains the high byte, and register E the low byte.
; All other registers are preserved.
; The high byte is like the NES controller, low has the extra SNES buttons.
get_buttons:
        push af           ; save af registers
        push bc           ; save bc registers

; pulse the LATCH line low to high and back to low again.
        xor a               ; set a to 0
        out (NES_PORT), a
        ld a, LATCH
        out (NES_PORT), a
        xor a               ; set a to 0
        out (NES_PORT), a

        call .get_buttons
        ld d, a             ; store the button states in register d
        call .get_buttons
        ld e, a             ; store the button states in register e

        pop bc              ; restore bc registers
        pop af              ; restore af registers

        ret                 ; return to caller with button states in a


.get_buttons:
; setup the loop counter to read 8 buttons.
        ld b, 8             ; 8 buttons to read.

; now we rebuild the byte into register c. As we are setting all 8 bits,
; we don't need to worry about clearing c first.
.loop:
; read the controller button states
        in a, (NES_PORT)    ; read the DATA line

; move the DATA bit into register c to rebuild the send byte
        srl a               ; shift right to get the DATA bit into carry
        rr c                ; rotate carry into bit 7 of c

; pulse the CLOCK line to read the next button.
        ld a, CLOCK
        out (NES_PORT), a
        xor a               ; set a to 0
        out (NES_PORT), a

; loop to read all buttons.
        djnz .loop

; return the button states in register a
        ld a, c             ; put the final button states in a
        ret
Using the new Z80 routine
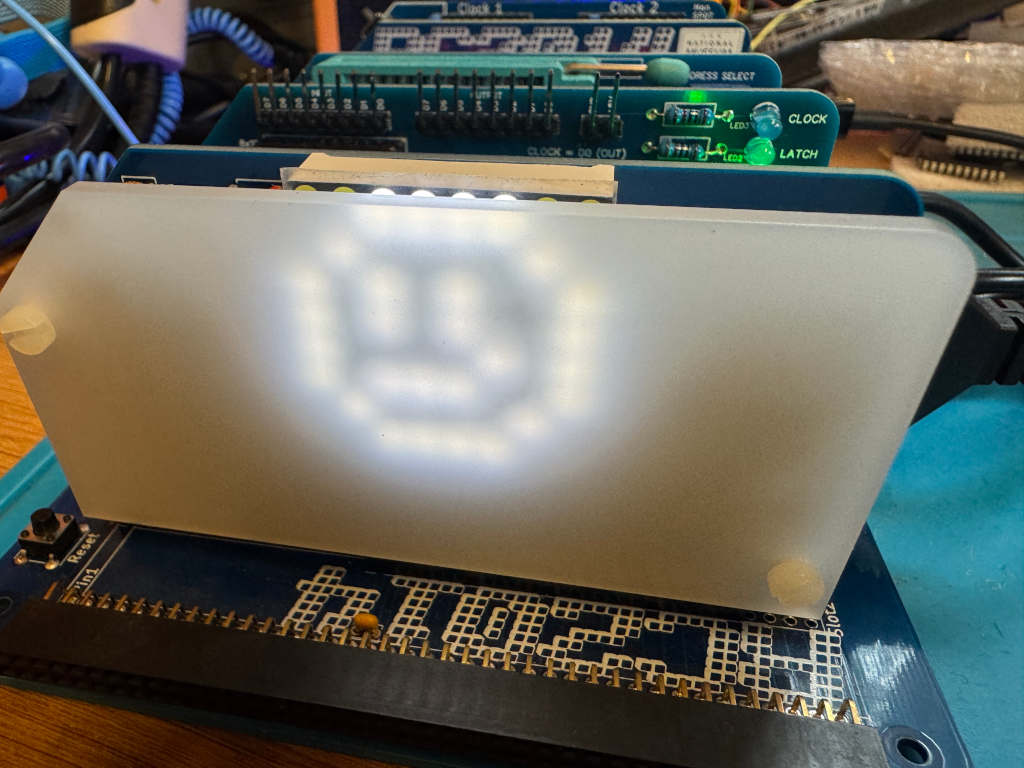
To test the new routine, I can use LEDs as before. I have two modules that can display an 8-bit value using LEDs. A RC2014 Digital IO module at IO address 0, and a SC134 module at IO address 2. I will display one returned byte on one of the modules, and the second returned byte on the other module. This can be run using SCM as before.
 ; A simple button reading program for the RC2014 Z80 computer running SCM
 ; this version outputs the SNES button states to a LED output
 ; Robert Price - 1st November 2025

        ORG $9000

; the Z80 port address to use for the LED output.
; This expects two Digital IO ports to be connected to the RC2014,
; one at IO address 0 for the high byte, and one at IO address 2 for the low byte.
LED_PORT_H  EQU $00
LED_PORT_L  EQU $02

main:
; get the button states from the SNES controller
        call get_buttons     ; call the get_buttons subroutine
        ld a, d              ; get the high byte button states
        cpl                  ; invert the bits in register a so pressed buttons are 1, and unpressed are 0
        out (LED_PORT_H), a  ; output the button states to the LED port

        ld a, e              ; get the low byte button states
        cpl                  ; invert the bits in register a so pressed buttons are 1, and unpressed are 0
        out (LED_PORT_L), a  ; output the button states to the LED port

        jr main              ; repeat forever

        INCLUDE "SNESController.inc"

        END